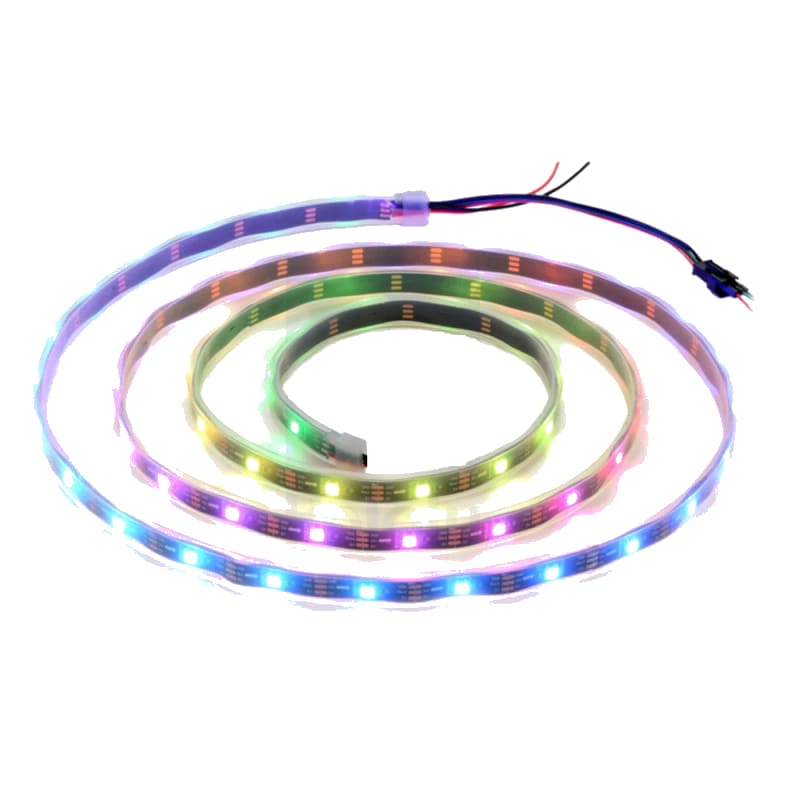
WS2812B RGB LED Strip
The WS2812B is an intelligent, addressable RGB LED strip where each LED contains an integrated driver IC that allows individual control of color and brightness via a single-wire data protocol. Up to 1024 LEDs can be daisy-chained and controlled from a single Arduino pin, making it ideal for decorative lighting, wearables, and large-scale LED matrices.
For this interfacing you need the following components:
- Arduino board (Uno, Nano, Mega, etc.)
- WS2812B RGB LED strip or ring (any LED count)
- 5V power supply (rated for the total LED current)
- 1000 µF electrolytic capacitor (across power rails)
- 330–470 Ω resistor (on the data line)
- Breadboard and jumper wires
- USB cable to connect Arduino to your computer
Schematic
Connect the WS2812B strip to the Arduino as follows:
WS2812B Strip         Arduino
-------------         -------
VCC (red)     -->     5V (external PSU for >10 LEDs)
GND (white)   -->     GND (common with PSU and Arduino)
DATA (green)  -->     Digital Pin 6   (via 330–470 Ω resistor)

External 5V PSU (+)  -->  VCC (strip)
External 5V PSU (-)  -->  GND (strip and Arduino)

1000 µF capacitor     -->  between VCC and GND (near strip)
For small projects with 1–8 LEDs, the strip can be powered directly from the Arduino 5V pin. For longer strips, connect the LED power to an external 5V supply and tie the grounds together.
Pin Map
| WS2812B Wire | Name | Connection |
|---|---|---|
| Red | VCC (5V) | 5V power (external PSU for >10 LEDs) |
| White | GND | Ground (common with Arduino) |
| Green | DATA | Digital Pin 6 via 330–470 Ω resistor |
Some strips use different wire colors — verify with your specific product. Common alternatives: red/VCC, white/GND, green/DATA.
Data line resistor
A 330–470 Ω resistor on the data line near the strip input is strongly recommended. It reduces ringing and reflections on long data lines and protects the first LED from voltage spikes.
Power capacitor
A 1000 µF (or larger) electrolytic capacitor across the VCC and GND pins near the strip absorbs current spikes when LEDs change color rapidly. Without it, voltage dips can cause flickering or resets.
Install necessary Library
Install the Adafruit NeoPixel library by Adafruit via the Library Manager (Tools > Manage Libraries).
Alternatively, using arduino-cli:
arduino-cli lib install "Adafruit NeoPixel"
For more advanced effects (animations, color palettes, sound reactivity), also install FastLED:
arduino-cli lib install "FastLED"
This tutorial uses the Adafruit NeoPixel library.
Code with complete explanation
This sketch demonstrates basic WS2812B control: setting individual colors, creating rainbow effects, and animating patterns.
#include <Adafruit_NeoPixel.h>

#define LED_PIN    6
#define LED_COUNT  8   // Change to match your strip

// Parameter 1 = number of LEDs
// Parameter 2 = data pin
// Parameter 3 = pixel type flags
Adafruit_NeoPixel strip(LED_COUNT, LED_PIN, NEO_GRB + NEO_KHZ800);

void setup()
{
  strip.begin();
  strip.show(); // Initialize all pixels to off
  strip.setBrightness(50); // 0–255 (lower to save power / reduce glare)
}

void loop()
{
  // 1. Solid color wipe
  colorWipe(strip.Color(255, 0, 0), 50);   // Red
  colorWipe(strip.Color(0, 255, 0), 50);   // Green
  colorWipe(strip.Color(0, 0, 255), 50);   // Blue

  // 2. Rainbow cycle
  rainbow(10);

  // 3. Theater chase
  theaterChase(strip.Color(127, 127, 127), 50); // White
  theaterChase(strip.Color(127, 0, 0), 50);     // Red

  // 4. Twinkle random pixels
  twinkle(50, 20);
}

// Fill the strip one LED at a time with a color
void colorWipe(uint32_t color, int wait)
{
  for (int i = 0; i < strip.numPixels(); i++)
  {
    strip.setPixelColor(i, color);
    strip.show();
    delay(wait);
  }
}

// Rainbow cycle across all LEDs
void rainbow(int wait)
{
  for (long firstPixel = 0; firstPixel < 5 * 256; firstPixel++)
  {
    for (int i = 0; i < strip.numPixels(); i++)
    {
      int pixelHue = firstPixel + (i * 256 / strip.numPixels());
      strip.setPixelColor(i, strip.gamma32(strip.ColorHSV(pixelHue)));
    }
    strip.show();
    delay(wait);
  }
}

// Theater-style crawling lights
void theaterChase(uint32_t color, int wait)
{
  for (int pass = 0; pass < 10; pass++)
  {
    for (int offset = 0; offset < 3; offset++)
    {
      for (int i = 0; i < strip.numPixels(); i++)
      {
        if ((i + offset) % 3 == 0)
        {
          strip.setPixelColor(i, color);
        }
        else
        {
          strip.setPixelColor(i, 0);
        }
      }
      strip.show();
      delay(wait);
    }
  }
}

// Twinkle random LEDs
void twinkle(int count, int wait)
{
  for (int i = 0; i < count; i++)
  {
    strip.setPixelColor(random(strip.numPixels()), strip.Color(random(256), random(256), random(256)));
    strip.show();
    delay(wait);
  }

  strip.clear();
  strip.show();
}
Code breakdown
#include <Adafruit_NeoPixel.h>— includes the NeoPixel library for WS2812B control.Adafruit_NeoPixel strip(LED_COUNT, LED_PIN, NEO_GRB + NEO_KHZ800)— creates a strip object. The third parameter specifies the pixel type:NEO_GRBfor color order (WS2812B uses GRB, not RGB) andNEO_KHZ800for 800 kHz data rate.strip.begin()— initializes the pin and prepares data transmission.strip.show()— sends pixel data to the strip. Color changes only take effect after this call.strip.setBrightness(50)— sets global brightness scaling (0–255). This is non-destructive — original color values are preserved internally.strip.setPixelColor(index, color)— sets the color of a single LED (0-indexed). Color values usestrip.Color(red, green, blue)for 8-bit per channel.strip.Color(hue, saturation, value)— creates a color from HSV components (used in the rainbow effect).strip.gamma32()— applies gamma correction for more accurate color representation on LEDs.strip.numPixels()— returns the total number of LEDs in the strip.strip.clear()— turns off all pixels (sets all to 0,0,0).strip.ColorHSV(pixelHue)— generates a rainbow color from a hue value (0–65535).
Setting individual colors
// Set first LED to red
strip.setPixelColor(0, strip.Color(255, 0, 0));

// Set second LED to green
strip.setPixelColor(1, 0, 255, 0); // Shorthand form

// Set third LED to purple
strip.setPixelColor(2, strip.Color(128, 0, 128));

// Apply all changes
strip.show();
Using FastLED (alternative library)
FastLED offers more effects, better performance, and support for many LED chipsets:
#include <FastLED.h>

#define LED_PIN     6
#define LED_COUNT   8

CRGB leds[LED_COUNT];

void setup()
{
  FastLED.addLeds<WS2812B, LED_PIN, GRB>(leds, LED_COUNT);
  FastLED.setBrightness(50);
}

void loop()
{
  for (int i = 0; i < LED_COUNT; i++)
  {
    leds[i] = CRGB::Red;
    FastLED.show();
    delay(50);
  }

  fill_rainbow(leds, LED_COUNT, 0, 255 / LED_COUNT);
  FastLED.show();
  delay(500);
}
Steps to perform this interfacing
- Connect the WS2812B strip to the Arduino as shown in the schematic — always connect the data line through a 330–470 Ω resistor.
- Place the 1000 µF capacitor across the power rails near the strip (observe polarity: longer lead = positive).
- Install the Adafruit NeoPixel library via the Library Manager.
- Set
LED_COUNTto the number of LEDs on your strip. - If powering more than 8 LEDs from the Arduino, connect an external 5V supply to the strip (common ground with Arduino).
- Select the correct board and port (
Tools > BoardandTools > Port). - Upload the sketch to the Arduino.
- Observe the sequence: color wipe (red → green → blue), rainbow cycle, theater chase, then twinkling.
Caution
- Power demand: Each WS2812B LED draws up to 60 mA at full white brightness (20 mA per R, G, B channel). A strip of 30 LEDs at full white draws 1.8 A. For 50+ LEDs, you must use an external 5V power supply rated for the total current. Never draw more than 500 mA from the Arduino 5V pin.
- Common ground: The external PSU ground MUST be connected to the Arduino GND. Without a common ground, data transmission will be unreliable and the strip may behave erratically.
- Data line resistor: Always use a 330–470 Ω resistor on the data line. Without it, the data signal may experience ringing that can damage the first LED’s IC.
- Timing-sensitive protocol: The WS2812B uses a strict 800 kHz timing protocol. Some Arduino libraries and functions (like
delay(),Serial.print(), or interrupts) can disrupt the timing ifstrip.show()is called from within an interrupt. Use NeoPixel or FastLED with interrupts disabled during data transmission on AVR-based boards. - Voltage drop: On long strips (2+ meters), voltage drop along the strip causes noticeable color shift — LEDs farther from the power source appear dimmer and redder. Inject 5V power at multiple points along the strip (every 50–100 LEDs) to maintain uniform brightness.
- Capacitor required: Without the 1000 µF capacitor, rapid color changes cause current spikes that can reset the Arduino or introduce noise into the 5V rail.
- Color order: WS2812B uses GRB (green-red-blue) order, not standard RGB. The NeoPixel library handles this when you specify
NEO_GRB. If colors appear swapped, change toNEO_RGB,NEO_BRG, orNEO_GRBto match your specific chip variant. - Level shifting: If using a 3.3V Arduino board (Due, Zero), the data signal (3.3V) may be below the WS2812B input threshold. Use a 5V level shifter (e.g., 74AHCT125) on the data line for reliable operation.